Every position has two numbers, and confusing them is one of the most common and most expensive mistakes a new trader makes.
Exposure
Exposure = quantity × price. How much capital the position commands. It decides how badly a gap can hurt you — a market that jumps straight through your stop costs you on your exposure, not on your intended risk.
Risk
Risk = quantity × (entry − stop). What you actually lose if your stop does its job. This is the number that decides whether you survive a losing streak.
Why they move independently
| Setup | Exposure | Risk if stopped |
|---|---|---|
| 100 units at ₹1,000, stop ₹990 (tight) | ₹1,00,000 | ₹1,000 |
| 100 units at ₹1,000, stop ₹950 (wide) | ₹1,00,000 | ₹5,000 |
| 20 units at ₹1,000, stop ₹950 (wide, sized down) | ₹20,000 | ₹1,000 |
Same exposure, five times the risk. Or: same risk, a fifth of the exposure. A tight stop buys you the right to hold a larger position; a wide stop demands a smaller one. That is what "size by risk, not conviction" actually means in arithmetic.
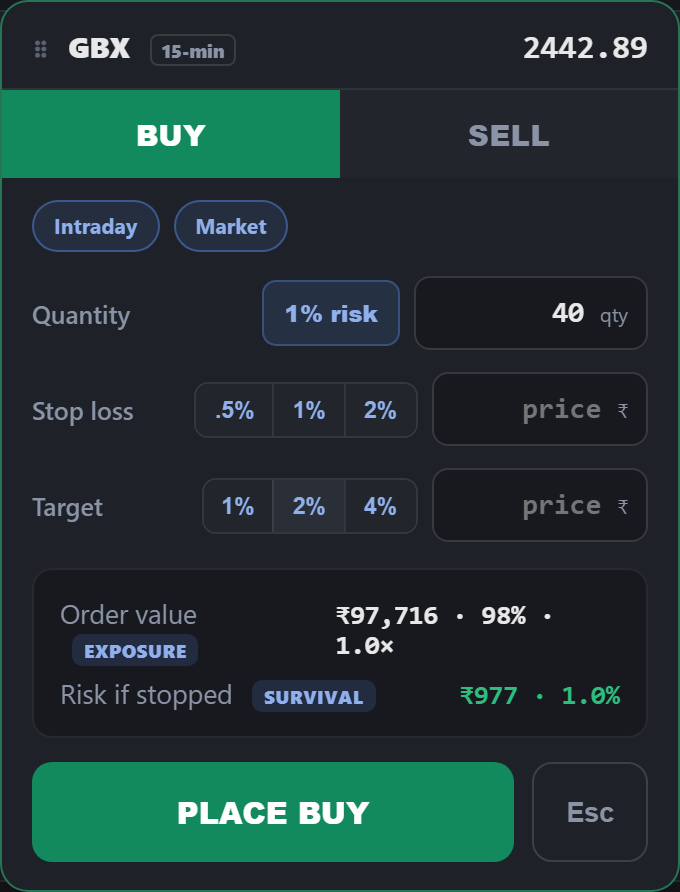
The 1% rule the Lab drills
Keep the risk on any one trade to roughly 1% of your capital. On the Lab's ₹1,00,000 that is ₹1,000. Get it wrong ten times in a row and you are still standing with 90% of your capital and your judgement intact. The Lab's missions expect risk at or under about 1.2%; anything over 2% is flagged as oversized.
Working backwards gives you the quantity:
quantity = (1% of capital) ÷ (entry − stop)
In the risk modules the ticket's 1% risk button does this for you, so you can see what a correctly sized position looks like before you start doing it by hand.